Tuesday, November 4, 2014

Thank You Cards 110414

Thank you! I love making thank you cards. I know I just did a post about thank you cards but there just so many ways to express gratitude and why not, right? I'm also using this blog post to participate in Simon Says Stamp Wednesday's blog challenge. This week it's anything goes, so all four cards meet the challenge.


This first one is a little more on the graphic side. I had this circle colored swirls for a while waiting. I had punched them out of some packaging and thought they would be fun to use on a card and this is what came out.


This one is a Z fold card with a flip it. I used my spell binder dies to cut the two white pieces of card stock. I partially cut my card base and used an embossing folder to give it some texture. I'm holding it closed with my tweezers. 


This one is one of my favorite cards. I stamped the shapes to create the colorful banner. I used washi tape to create the edges. I stamped the thank you sentiment and colored it with my alcohol markers. And my very favorite was the flower that I made with air dry modeling paste and a modpudge silicone mold. I colored it with my alcohol markers. 


This last card I used many thank you stamps to create the background in black ink. I stamped the focal thank you and filled it with glossy accents. Once it dried it resisted the distressed ink I put on top. Finally I traced a dragon (from my dragon boat team shirt) on to some velum and cut it out and glued it to the card to give to our coach. 

Once again I hope you enjoyed. 


Monday, October 13, 2014

Thank You Cards 101314

Thank you cards are so useful, I think they are my go to card when I just want to create. Below are four different cards to share. The first  and last cards I'm using to participate in the Simon Says Stamp Wednesday challenge blog. This week's challenge was about water coloring.


I kept it simple yet colorful. I stamped and heat embossed the sentiment with clear embossing powder on a piece of water color paper. using some of my distress mini ink pads and aqua painter brush to color on top of it. Used the craft card base and a strip of white card stock to bring out the sentiment.


I really kept this one real earthy. Stamping the craft base and left the canvas sticker uncolored. I stamped the sentiment on a strip of paper to make it into a banner. Lastly I used a decal for the faux stitching.  


On this last one I stamped the background writing in yellow then used one of my embossing folders and stamped the sentiment in grean. I also colored the edges of the card base very lightly in green.


This last one I used my distressed markers to water color this fabulous stamp from Inkadinkadu that was stamped on water color paper. I fuzzy cut it and cut two small slits and used a string to attach the little thanks a bunch note. I glued it to my white base card that had been embossed with an embossing folder to frame it.

That's all for now. I hope you enjoyed :)


Sunday, September 28, 2014

Water Color Birthday Card 092814

Today I'm again participating in Simon Says Stamp Wednesday Challenge Blog. They did't have a specific theme but said did we could use Hero Art stamps if we had them. So here is a card I made for one of my nieces.


I used this wonderful background stamp on a piece of water color paper. Stamping it with a light brown pigment ink and heat embossing it. Then used my distress ink mini stamp pads and brush to color it. I then stamped a piece of vellum with another stamp from Hero Arts sentiment stamp. I wrapped it around and then adhered it to a card base. 

That's all for today. I hope you enjoyed :)


Tuesday, September 16, 2014

Black Outline Cards 091614

Hello again! I have found new inspiration and have pushed myself to make time to make cards and I'm really enjoying it. This week again I'm participating in Simon Says Stamp's challenge blog. This time it was geared on creating our own background. The last card is really the one inspired by that challenge.


For this first card I stamped a background Hero Arts' Four Leaf Grid stamp with versamark ink, used clear embossing powder and used the resist technic to apply color using a bird stencil from Mudd Podge. I then used the "you" die cut and sentiment set from SSS for my sentiment. 


This second card I used a left over strip of water color paper that I had water colored with distressed ink pads from Ranger. I embellished it with a resist canvas sticker from Recollections that I also water colored. I then stamped the sentiment using another SSS stamp set and finished it by adding some pearls that I had colored black with my Prismacolor alcohol markers.


For my last card today I used the same Hero Art's background stamp as the first card and inked it with 5 distressed ink pads. I then sprits it with water and stamped a piece of water color paper to create my background. I then used my Lifestyle Crafts dies to cut the window and a frame with black card stock. I decided to keep the stamping simple and used a stamp set from The Stamps of Life. All three cards used strips of black card stock instead of layering a full piece of black cards stock. 

Well, that's all for now. I hope you enjoyed. I know I enjoyed making them very much.

Tuesday, September 9, 2014

Set of 4 Cards 090914

Hello, I know it's been a while. Work has been busy and I'm finally allowing myself a little time to comeback to do a little post.

Today, I'm participating Simon Says Stamp challenge blog. This week's challenge is about stamping. Here is my contribution.


This is a set of cards I made. I picked four bright colors and stamped this wonderful rose stamp I have from MultiCraft Imports and then picked four sentiments from various companies and stamped them in black on a strip of velum. 

I hope you enjoyed and see you next time. 


Tuesday, April 29, 2014

3x3 Note Cards 042914

Well, it has been a while since my last post, but I'm back again and ready to share :)

So I had this idea to do a small cards. The type you give for small notes or as part of a gift. I kept them simple and let the designer paper speak.


I decided to make about 16 or 18 cards and put them out at work. They are all thank you cards. I put them with a sign letting my co-workers know they could take a card and give it to anyone they wanted to say thanks to, in or outside of work and sort of pay-it-forward.


This and the next were small sets of four cards I made. I thought it would be nice to have handy with four different messages. I used a scalloped edge punch to dress it up and this also gave me a chance to use my We R Memory Keepers envelop punch board. 


That's all for now. I hope you enjoyed and this gave you an idea of what you can do with your designer papers. 


Sunday, February 9, 2014

Valentine's Day Cards 020914

Ok, since we are now in February I'm going to show 5 cards that were inspired by my honey. I hope you enjoy. Happy Valentines Day all!


On this card I used a mini punch for the little hearts and coated them with glossy accents. The big heart is a button I picked up at the last CKC scrapbooking convention I attended.


I don't think the camera picked up this card has an embossed frame, so I kept it simple and popped up the die cut heart with the sentiment from a stamp set from SSS. I used a sponge dubber to color underneath the heart.


This one is meant to be a more youthful look, like something that you would find scribbled in a notebook. I then popped up the two little characters for more dimension. 


This is a result of some card surgery. I made an error on cutting the red card stock too short so I used this pink glitter paper to solve the problem and used the ribbon to hide the harsh line. I love it when something good comes out of a mistake. 


This last one is a square card. I don't make them too often, but I got the pre-embossed white cards and sponged some red ink to help highlight the embossed designed and some stamping to bring it all together. I also added some dots on the heart with liquid pearls. 

Wednesday, January 15, 2014

Retirement Cards 011514

The place where I work is full of baby boomers and we have lots of retirements and I always have a hard time finding inspiration for this kind of cards. So, I thought it would be fitting to share a few cards I made.


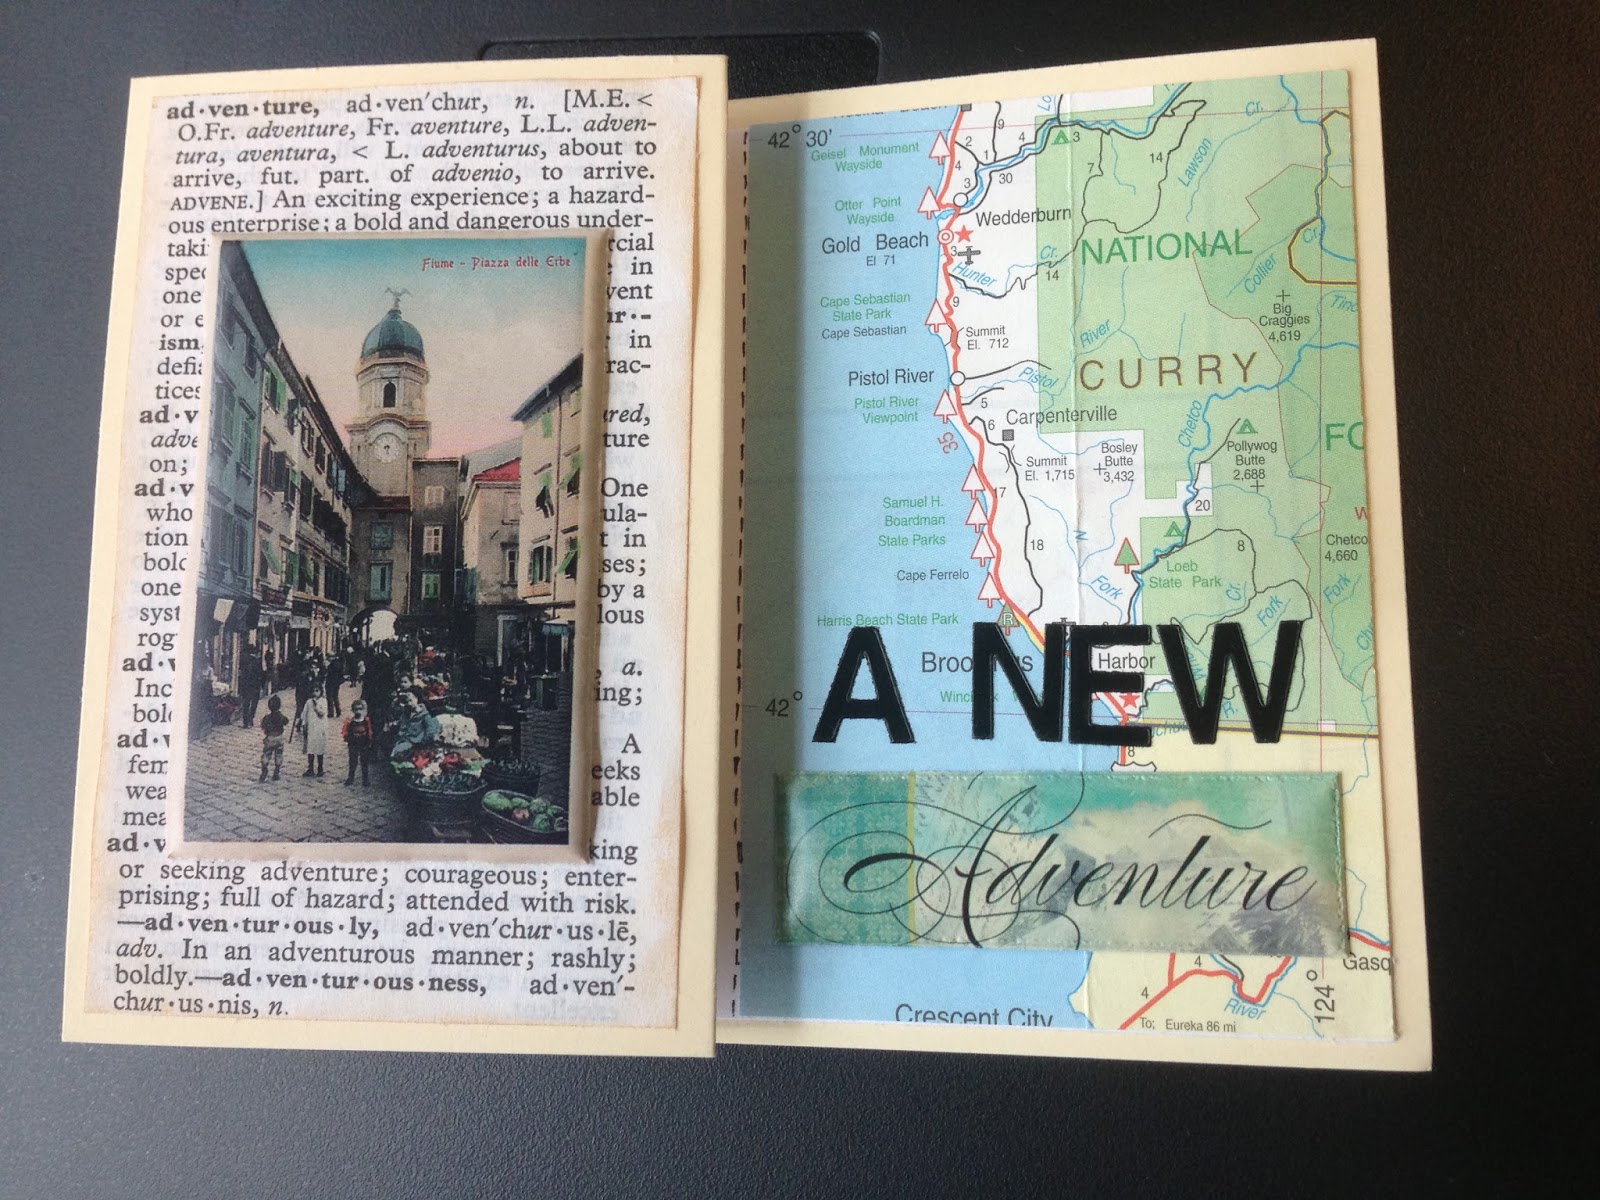
This first card is the latest I made. It's a z fold card. I used the nesting frame 8 die from Life Crafts for the map. I made a banner from some scraps of white card stock stamped Happy and used stickers for retirement. I was so lucky the word fit, because I didn't measure it. :) 


This second card was another z fold card. On this one I used some stickers I picked up at Michaels from their dollar bin from National Geographic. I really liked them because they are sort of like foam, so I think they really add something fun to the card.


This last card is the standard card. I made it to sort of simulate a post card. Again using some of the stickers from National Geographic and the map. As you can tell the map played a big part on these cards. The best part was that I used an old map that was going to be tossed and repurposed it. 

I hope you get a little inspiration and some ideas for the next time you want to celebrate someone's retirement. 


Friday, January 3, 2014

First Blog Post


Today I start this blog to share my handmade cards. I'm new to blogging, and I look forward to this new experience. I tend to think less is more so I will just get started and share three cards :)

They are all cards I made a long time ago. This first one was for my grandmother's birthday. I kept it very simple and I liked how it turned out.


I used a set of clear stamps from Inkadinkadoo and some inexpensive dye inks. I also stamped the envelop for a special touch.


For this one I stamped color card stock and did some fussy cutting for the flowers. Then I used a stripped pattern paper to simulate a fence and added a ribbon under the biggest flower which I popped up for some dimension.


This last card I made for a very special girl named Joy. I stamped the happy birthday greeting  and the flowers several times. I used chalk to color the flowers and glossy accents for the center of the flowers. I stamped J-O-Y on the bottom flowers, but if I was making this card again I would hand write to make sure I got the letters in the center. 

Well, that's all for today. I enjoyed myself!